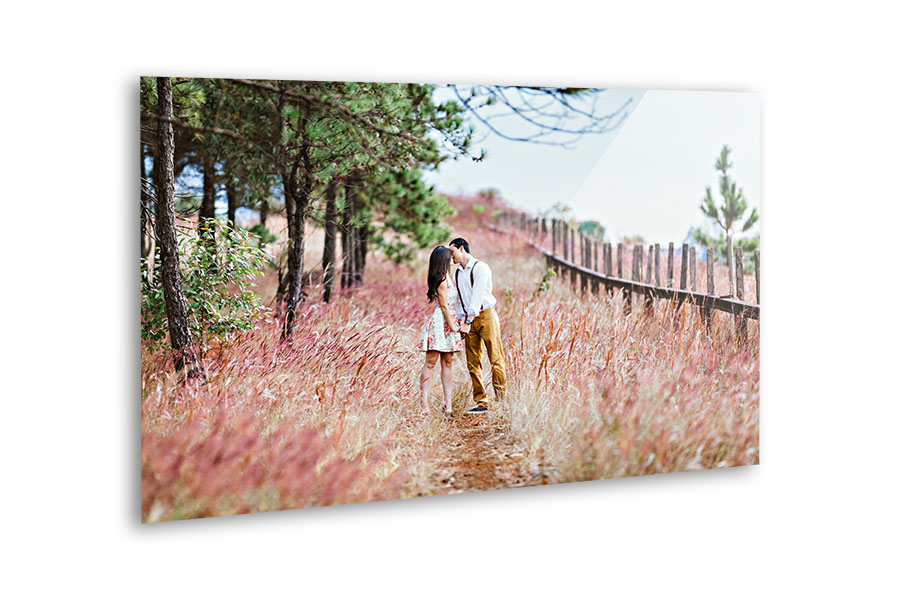
Step 1: Create a Family Gallery Wall
A gallery wall is an elegant and timeless way to showcase a collection of family photographs. Select a theme—such as black-and-white photographs, holiday memories, or milestones—and utilise custom-sized frames to create a balanced, unified arrangement. To create a cohesive design, choose similar or complementary frame styles. This strategy not only improves your area, but also allows you to update and expand your photo wall over time. You may get a large range of bespoke frames to match any gallery design.Step 2: Use Floating Shelves for a Flexible Display
Floating shelves allow you to display framed family photos with decorative objects such as candles, plants, and little souvenirs. Unlike a fixed wall arrangement, shelves allow you to move or rotate your images whenever you choose. To keep the display clean and visually appealing, select simple but elegant custom frames that complement your home design. This strategy is especially useful in living rooms, hallways, and home offices.Step 3: Create a Chronological Timeline.
Displaying images in chronological sequence helps to tell the tale of your family's trip. This might contain baby photos, birthdays, holidays, and school accomplishments, all tastefully displayed in a row or sequence. A hallway or stairwell wall is ideal for this type of storytelling exhibit. With unique framing options, you can ensure that each photo fits exactly and looks consistent across the display.Step 4: Create a Photo Grid with a Modern Look
If you prefer a clean, structured appearance, consider making a photo grid. To create a dramatic visual impression, use similar bespoke frames with precisely spaced rows and columns. This display style complements minimalist decor and is perfect for highlighting candid family moments, vacation photos, or themed collections. Square or rectangular frames with white matting can help the display look sleek and modern.Step 5: Make It 3D with Shadow Boxes
To create something truly one-of-a-kind, blend family photos with cherished memories in custom shadow boxes. Consider wedding invites, baby booties, travel mementoes, and dried flowers. Shadow boxes allow you to add depth and texture to your display, making it feel more personalised. Just Picture Framing Online provides customisable solutions that can be adapted to both your photo and the accompanying items.Why Custom Frames Make a Difference
Investing in custom frames not only protects your cherished images, but also improves their appearance. Just Picture Framing Online offers a diverse selection of frame materials, colours, and sizes that properly complement your images and décor.Whether you like a sleek modern frame or a classic timber finish, our custom framing service guarantees that your family memories are presented in the best possible light. Upload your photo, preview it in your preferred frame, and get quick, professional results delivered straight to your door.


